Connect PLOSSYS Output Engine to easyPRIMA
With easyPRIMA, you can manage printers used in a PLOSSYS Output Engine system beside other systems. The REST interface is used for the communication. For more information how to install and configure easyPRIMA, refer to the easyPRIMA documentation.
Requirements
- easyPRIMA version 1.3.0 or higher is installed on the management server.
Connect the Output Engine System to easyPRIMA
This is how you connect an Output Engine system to easyPRIMA:
-
In the easyPRIMA configuration file (
server/edc/conf/edc.cfg), setExport-ModetoEXPORT_MODE=REST_OR_FILEfor managing printers of PLOSSYS Output Engine and PLOSSYS 4 systems (as of version 4.5.2) in parallel:EXPORT_MODE = "REST_OR_FILE" -
Create a new Output Engine system in easyPRIMA via
Manage Systems.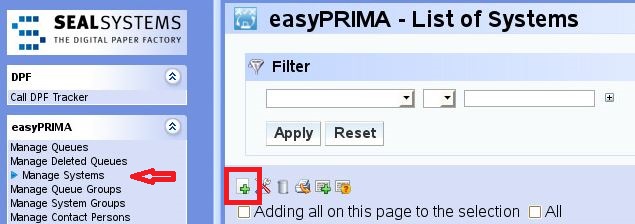
-
In the
easyPRIMA - Create Systemdialog, selectPLOSSYS Output EnginewithSystem Type.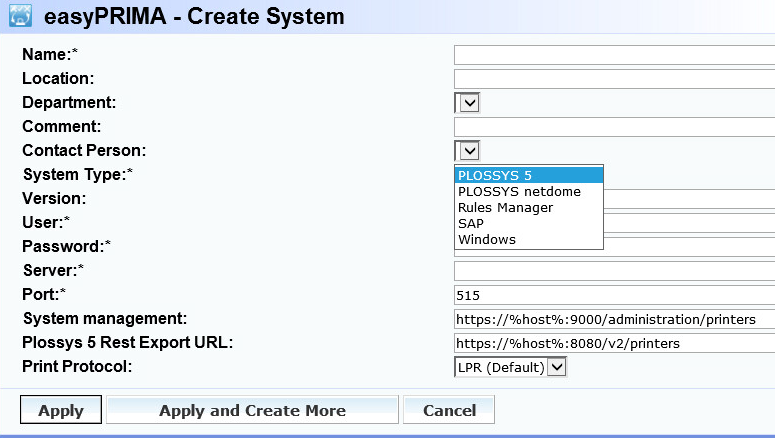
-
Specify the following mandatory settings:
Name=<system_name>User=<user_REST_API>Password=<password_REST_API>Server=<IP_address_PLOSSYS_5_server>Port=515Hint - user name and password of the REST API
You receive the user and password required for the REST API from your Technical Project Manager at SEAL Systems.
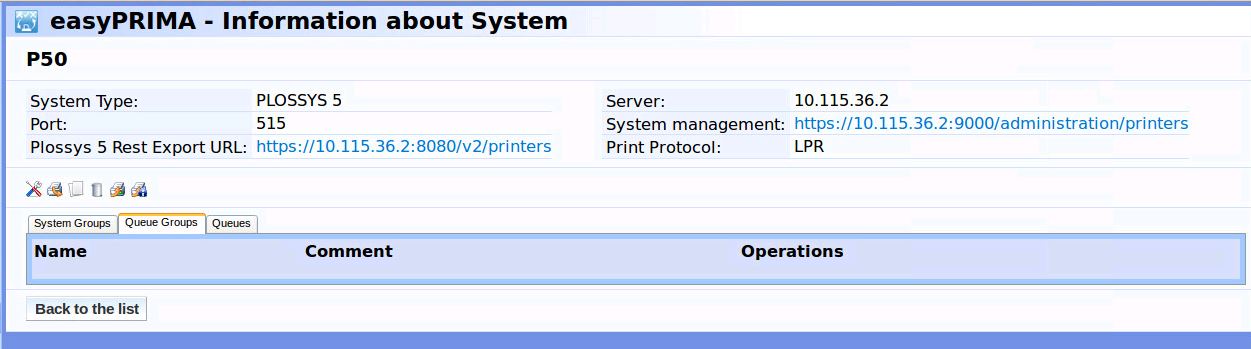
Once the system has been created, the following information is visible:
Export Printers from easyPRIMA to PLOSSYS Output Engine
For how to export printers from easyPRIMA into the Output Engine system, refer to the easyPRIMA documentation.
The printer configurations that can be integrated into Output Engine systems are available in the SEAL Systems Driver Database.
-
In
Manage Queue Parameters, create a new queue parameter: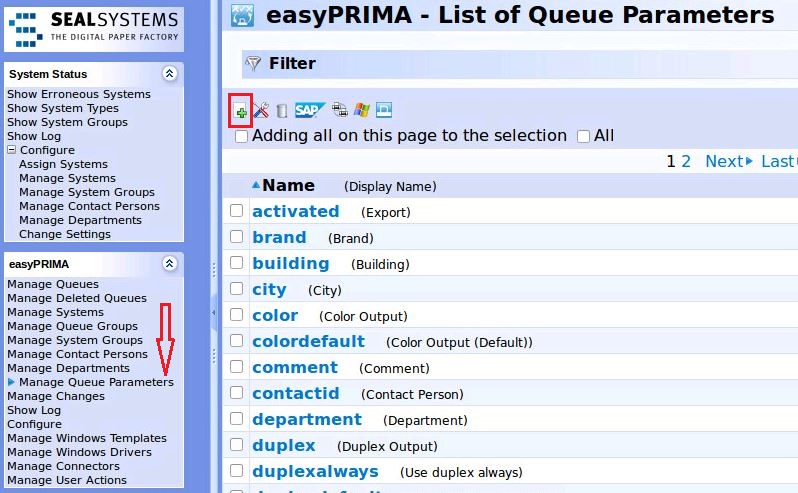
-
With
Tab, selectPLOSSYS:
-
With
Relevant for, selectPLOSSYS Output Engineand specify further properties: